Paradise Selfies: Snapping Your Way Through the Stunning Islands of Raja Ampat
Packing Your Selfie Stick
A selfie stick is arguably the most important travel accessory for any social media influencer or travel blogger. After all, capturing epic selfies in exotic locales is a huge part of promoting your personal brand and showing your followers the amazing destinations you visit. However, packing a selfie stick comes with its own unique considerations.
First and foremost, you'll want to choose a lightweight, collapsible selfie stick that's easy to pack in your luggage and carry around all day. Metal selfie sticks may be more durable, but plastic or composite materials are much lighter. Consider how compact it can fold down to - you don't want a selfie stick taking up too much precious space in your bag or backpack as you trek through remote islands and rainforests.
It's also a good idea to find a selfie stick with a secure phone grip and Bluetooth remote clicker. Fumbling to press the shutter button on your phone while trying to frame the perfect shot is a recipe for blurry, awkward selfies. A wireless remote makes it easy to snap pics with one hand while positioning yourself with the other. For added security, look for a selfie stick equipped with a phone case that holds your device firmly in place. You don't want to drop your phone off a cliff or into the ocean while attempting an extreme selfie!
While selfie sticks are incredibly useful, they can be a hassle to carry around all day on long excursions. That's why a clip-on version that attaches directly to your backpack strap, belt loop or clothing is a great option. You can keep your hands free and quickly detach the selfie stick only when needed. Just beware of clipping anything too loosely - you wouldn't want your selfie stick falling onto a crowd below while hiking to an incredible viewpoint.
No matter what type of selfie stick you choose, it's wise to pack a mini flexible tripod as backup. Tripods don't extend for arms-length selfies, but they're great for setting up static shots on uneven terrain where a selfie stick would be useless. Having both options ensures you can document your whole trip, even when selfie stick use is impractical.
Finding the Best Lighting
Finding the perfect light is one of the most important skills any travel photographer needs to master, and this is especially true when taking epic selfies in exotic locales like the Raja Ampat islands. After all, lighting can make or break a photo. Overhead sunlight typically creates harsh shadows and squinty eyes - not exactly flattering for selfies. Similarly, shooting in dense shade often results in dark, muddy pics that don't capture the bright colors of your tropical surroundings. So what's an influencer to do?
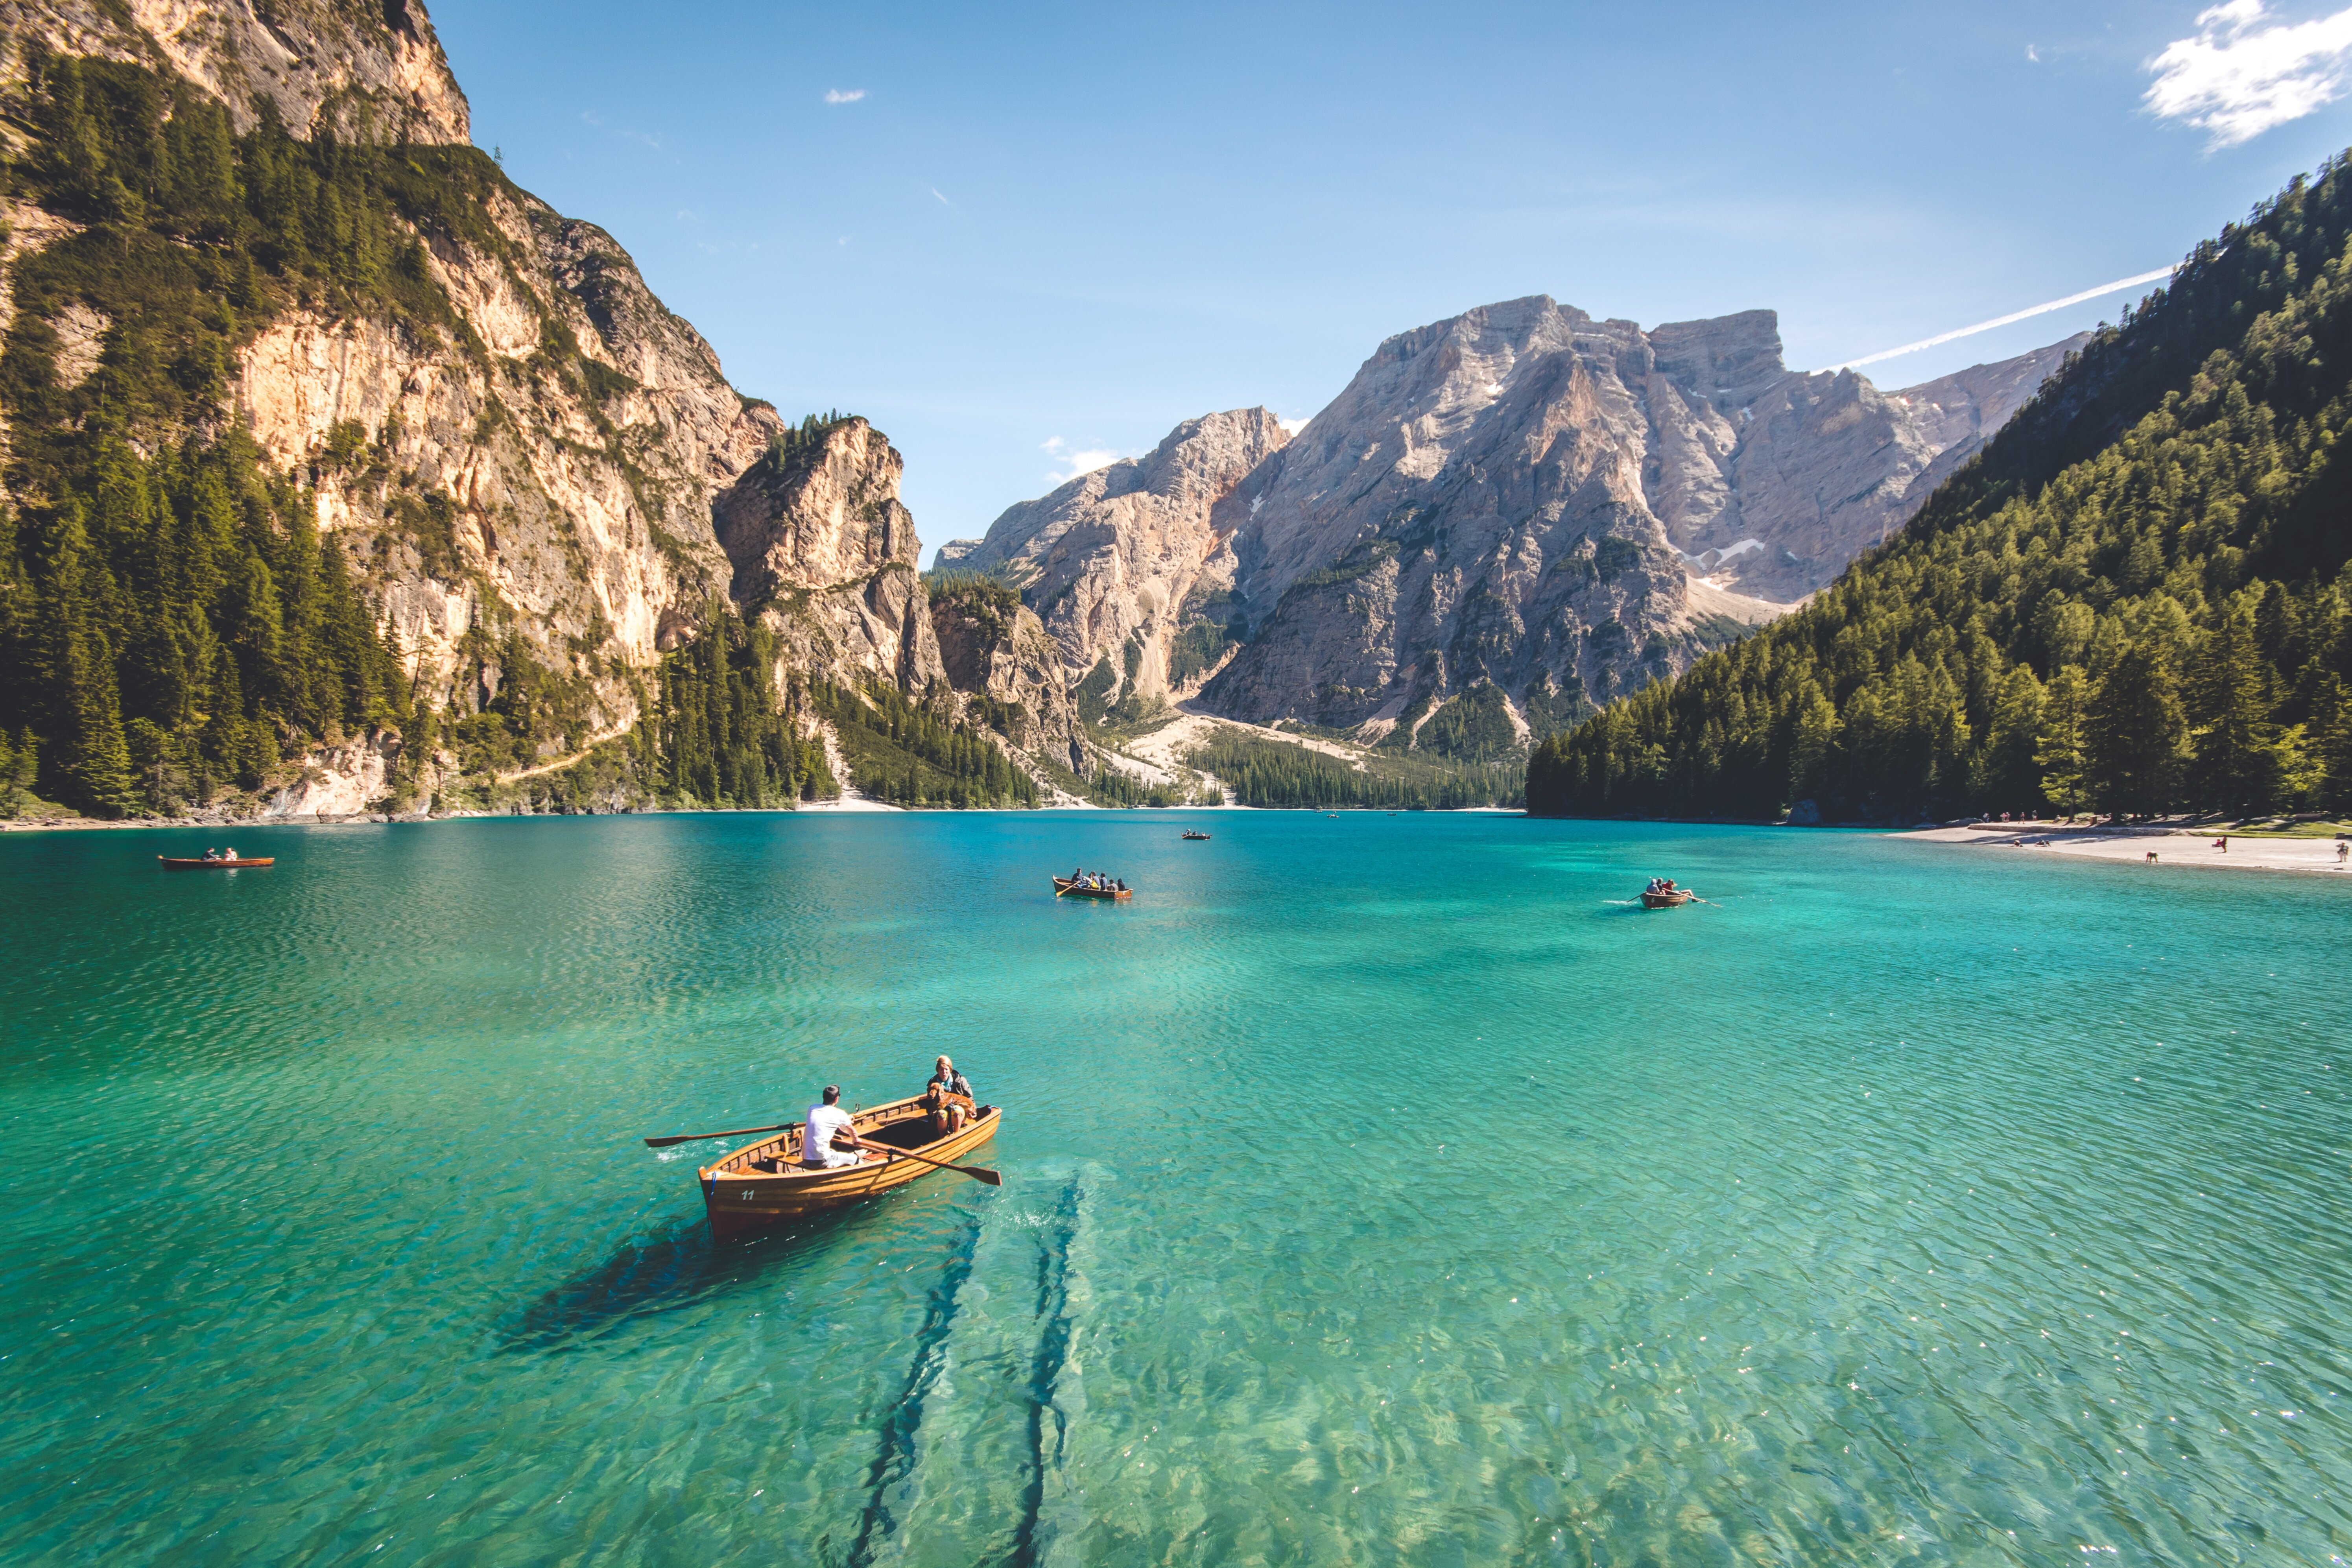
The best time for travel selfies is usually during sunrise or sunset when the light is soft and golden. At dawn, head to an elevated viewpoint facing east to catch the first rays of morning light before the harsh midday sun appears. Sunrise selfies illuminate your features in a warm glow while showcasing stunning backgrounds like the silhouette of a volcano at daybreak. For sunset, face west toward the setting sun so its last warm hues cast a magical light. Frame the fiery evening sky behind you for an eye-catching shot.
When the sun is high, look for open shade under a palm tree or canopy to avoid direct light. Seek out reflection from surfaces like water, glass or wet sand to bounce flattering illumination onto your face. Try not to stand in full shade or full sun. Instead, position yourself at the edge of sunlight so one side of your body is gently lit. Turn the lit side toward the camera for attractive modeling on your features.
Pay attention to color temperature too. Early morning and late afternoon light is more golden, while midday light tends toward blue. Adjust your camera's white balance setting to compensate. Cooler light requires a warmer white balance to avoid blue, washed out pics. Meanwhile, overly golden light needs a cooler setting to neutralize it. Custom white balance lets you perfectly color correct any scene for stunning, share-worthy travel snaps.
Of course, natural light isn't always possible to find. So have backup lighting options handy like a small reflector to bounce sunlight where needed, or an LED panel to add a pop of fill light. Reflectors come in gold, silver and white - gold warms skin tone, silver brightens shadows, while white provides natural illumination. Collapsible disk reflectors easily fit in your pack. For nighttime selfies or shots in dense jungle shade, pocket LEDs add a soft glow ideal for social media.
Posing Tips and Tricks
Posing for selfies while traveling often requires some creative contortions to get both yourself and an epic background into the frame. But nailing the perfect pose is well worth the effort to capture share-worthy shots for your social channels. Arm yourself with these posing tips and tricks to take your travel selfies to the next level.
First, consider alternate angles to shoot from. While standard eye level selfies are fine, mixing things up can make your pics stand out. Shoot downward from above to emphasize backgrounds like sweeping ocean vistas behind you. Alternatively, squat down low to shoot upward and foreground gigantic natural wonders like winding rivers or towering waterfalls. Play with positioning yourself slightly off-center rather than dead center in the frame too - this creates a more dynamic, interesting composition.
Speaking of composition, frame shots to highlight not just yourself, but also your incredible surroundings. Rather than posing full body, try positioning just part of yourself in the frame. For example, extend your arm holding the selfie stick out toward stunning rock formations in the distance. Or hold your phone at knee level to showcase a pristine beach and aquamarine water with your toes in the lower foreground. This immerses viewers in the exotic location.
When posing full body, good posture is a must. Keep your back straight, chin parallel to the ground (not tilted upward), and shoulders down (not hunched). Push your hips slightly forward to arch your back and avoid slouching. Distribute more of your weight onto your front foot while keeping your rear leg slightly bent. This creates an elegant, flattering S-curve with your body.
Be mindful of hand and arm positions too. Bent elbows and awkward hand gestures can ruin an otherwise incredible backdrop. Let arms hang naturally at your sides, or rest hands on your hips - just avoid stiff, "T-Rex" arms that stick out at odd angles. Have a prop like sunglasses to hold to keep hands occupied.
Facial expressions are also critical. A serious stare or pursed lips often looks unnatural in photos. Instead, think of something amusing and crack an authentic smile so your eyes crinkle. Or try more smoldering expressions like gazing directly into camera with bedroom eyes for dramatic solo portraits. Saying something animatedly like "woo!" also helps capture genuine emotion.
Lighting-wise, never shoot looking directly into the sun, which creates squinty eyes. Face the light source from an angle or turn your body slightly away from the sun. Also avoid any harsh shadows on your face by adjusting your pose, camera angle or waiting for the light to change.
Editing for Social Media
Once you've snapped epic selfies during your travels, editing is the next crucial step before sharing online. After all, even the most stunning pics can benefit from some quick retouching to take them from great to truly amazing. When it comes to editing travel selfies for social media, the key is enhancing without going overboard. Subtle edits make photos pop while still looking natural.
First, correct any minor imperfections using retouching tools. For example, use the clone stamp to erase temporary blemishes or dust spots that distract from your gorgeous surroundings. Carefully dodge and burn to gently smooth uneven skin tone and brighten any shadows around eyes or nose. But steer clear of airbrushing or using filters that make images appear obviously altered. The goal is to still look like your true, authentic self - not a glossy magazine model!
Next, bump up the vibrance and saturation just a tad to make colors pop without becoming neon bright. Tropical destinations already boast bold hues, so you only need the slightest boost for the greens of jungle leaves or blues of ocean waters to leap off the screen. Don't overdo it though, or your feed will look cartoonish. For a harmonious edit across multiple pics, set vibrance/saturation at the same modest percentage increase in your preset.
When it comes to contrast and tone, lift both the shadows and highlights slightly to add depth without going overboard. Opening up shadows illuminates your facial features and prevents a flat, muddy look. Boosting highlights adds sparkle to water droplets on your skin and gives clouds definition. But keep edits subtle so they're undetectable. Your images should retain a natural feel. For eyes, add just a touch of sharpening along with slight darkening of the pupils to make them really pop. You want vivid eyes that draw the viewer in.
For next-level images, many influencers apply preset filters as the cherry on top. Opt for subtle, professional filters that create cohesion across your whole feed. Warm filters like orange/teal can provide a rich sunset look perfect for tropical beach selfies. Meanwhile, crisp, cool tones lend an airy feel ideal for mountain adventures. Vintage filters like faded film add artistic flair. Just don't overdo the filtering, or your images will end up looking tacky and fake. Stick to light filters that infuse visual interest without drastically altering the original photo.
Finally, carefully crop horizontal shots to vertical for optimal display on social feeds. Position yourself according to the rule of thirds for pleasing composition. Check that any text or logos on clothes are intact after cropping - you don't want major elements chopped off. For Instagram stories, resize into the correct dimensions. Editing with social media limitations in mind ensures your selfies look amazing no matter how followers view them.
Safety First!
While seeking the perfect selfie backdrop can be thrilling, nothing dampens an exotic getaway quite like an injury. That’s why prioritizing safety is a must when snapping pics in precarious places. A risky photo op just isn't worth risking your health - or worse. Fortunately, a few precautions go a long way towards staying secure while still scoring share-worthy shots.
First and foremost, assess potential hazards before attempting any daredevil selfie. Scope out unstable terrain like loose rocks or crumbling cliffs that could give way if you venture too close to the edge. Pay attention to slippery surfaces as well that could cause a nasty fall. And keep clear of sheer precipices lacking guardrails or fences - better yet, avoid getting near any steep drop-offs whatsoever. The possibility of losing both your balance and your life is simply never worth a selfie.
When hiking to remote locations, never venture off trail and stay with your group at all times. Getting lost alone in a dense jungle or along a mountain ridge can be fatal. Pack essential survival items like water, food, a map, compass, whistle and flashlight even for short excursions in case the unthinkable happens. Always inform someone of your exact route too. Oh, and watch your step! Concealed animal holes, loose rocks and vines can trip you up when you’re focused on framing selfies rather than watching where you walk.
Near water, exercise extreme caution. Never turn your back to the waves, which can sweep you away in seconds. Avoid selfies on slippery rocks or steep cliffs near roiling surf. And watch for sneaker waves that rush up much farther than expected, catching you off guard. If posing on a picturesque outcropping, make sure you have an easy escape route that doesn’t require swimming. Sadly, countless travelers have lost their lives being battered against rocks or pulled into rough seas while attempting daring oceanfront selfies. Don't let that be you.
When taking pics with wildlife, follow guidelines from park rangers and give animals ample space. Getting too close to grab the perfect snap with a buffalo or bear rarely ends well! And absolutely refrain from feeding, touching or disturbing any creatures - your pic could encourage dangerous behaviors when the next visitor arrives. When around unfamiliar plants and animals, assume nothing is friendly until proven otherwise.
Snorkel Selfies
Snorkeling opens up a whole new underwater world begging to be captured in epic travel selfies. The kaleidoscope of colorful tropical fish darting amongst coral reefs creates a mesmerizing backdrop that even professional photographers envy. No wonder snorkel selfies have become hugely popular for showcasing exotic adventures online. But snapping that perfect underwater shot takes special skills and gear to pull off.
First, investigate optional add-ons for your smartphone like waterproof cases and lenses. A durable case encases your phone safely while still providing touch operation through the clear lining. This prevents water damage down to impressive depths - just make sure the case seals tightly with no gaps. For even better protection, choose a scuba-grade housing rated for 30m or more. This allows deep diving to capture reefs that shallow snorkeling can’t reach.
You can also attach special lenses to your underwater case or housing that compensate for the distortion and magnification effects of shooting underwater. Wide angle lenses counteract objects looking larger and closer underwater, while macro lenses help you hone in on tiny marine critters. Using a proper underwater lens keeps everything looking natural in your sea snaps.
When framing your snorkel selfie, careful positioning is key. Include colorful coral, schools of fish or sea turtles in the background, but keep clear so you don’t accidentally touch or harm marine life. Sun rays beaming through the water create stunning beams of light perfect for profile shots. Try holding your breath and sinking down a few feet to shoot upward towards the shimmering surface. This provides a unique perspective.
Be aware the deeper you swim, the less light penetrates - and the bluer your pics become from color filtering. Adjust camera settings like white balance to compensate. Stick near the surface down to maybe 10 feet at most for better illumination and accurate color in your snaps. And time dives during high noon when the sun is directly overhead for max lighting throughout the water column.
Currents can also complicate underwater selfies, so find sheltered spots like coral reefs and rocky outcroppings to anchor yourself. Avoid stirring up sand and sediment that can obscure everything in a foggy haze - gently fin your feet without kicking. And watch your buoyancy to stay hovering in place, not sinking or ascending as you try framing shots. Mastering underwater body control takes practice.
Safety should always come first when attempting any aquatic selfie. Never snorkel alone, even if staying close to shore. Currents, hypothermia, injury and even lurking predators can threaten lives, so a buddy system is essential. Avoid touching poisonous corals and marine creatures. Ensure someone on land knows your planned snorkeling route and expected return time. And don’t push time limits - run out of air, and you could pass out before reaching the surface. Refrain from drinking alcohol before snorkeling which impairs judgment.
Interacting With Locals
Getting to know local people is one of the most enriching parts of travel. Making genuine connections allows you to experience new cultures on a deeper level and gain unique perspectives. When visiting remote tropical islands, interacting with locals provides rare insight into traditional lifestyles and creates memorable experiences that generic tours can't match. From impromptu conversations to sharing meals, these interactions often end up being the highlight of many travelers’ trips.
While snapping selfies in enviable locales, be open to opportunities to interact with residents you meet along the way. Even quick exchanges in passing can teach you local customs and etiquette. Locals may also suggest undiscovered gems only accessible with a knowledgeable guide. Forging bonds over conversations shows interest and respect for their culture. Simply listening intently and asking thoughtful questions can work wonders.
Sharing a home-cooked meal offers another chance to engage with islanders and learn about staple foods and customs. Try sago porridge, fish stew and tropical fruits picked straight from the jungle. Participate respectfully in any blessing rituals before eating. Observing day-to-day routines like food preparation provides authentic cultural immersion. Just be sure to check dietary restrictions first since dishes often contain unfamiliar ingredients.
Where possible, support local artisans by purchasing handmade goods as mementos of your epic travels. From elaborate wood carvings to woven pandanus pouches, proudly display your artisanal souvenirs once home to reminisce over the talented craftsmen who created them. Chat as locals demonstrate their artistic process step-by-step. You may even pick up a new skill! Be sure to negotiate respectfully and pay fair prices - your money makes a direct difference in isolated communities.
Joining in traditional song and dance offers unmatched insight into indigenous heritage. Try on colorful ceremonial costumes and learn symbolic rituals passed down generations. Observe ceremonies and celebrations whenever possible for a vibrant dose of culture. Just be sure to follow all etiquette guidelines and avoid insensitive appropriation. Immerse yourself fully, but don't exploit traditions.
Volunteering provides hands-on help to underserved villages and bonds you with residents. Assist with sustainable projects like building rainwater harvesting tanks, tending community gardens or teaching basic English. Locals will appreciate your hard work and you'll gain profound understanding of daily life. Just be sure to match your skills to expressed needs.
More Posts from itraveledthere.io:
- →Selfie Quest: Snapping Your Solo Adventure One Epic Photo at a Time
- →Living the American Dream: My Long-Awaited USA Adventure
- → A Nostalgic Snapshot of Travel in the 70s, 80s, and 90s
- →Snap Your Way Through Vietnam: The Ultimate Weekly Instagram Destination Thread
- → Uncovering the Hidden Gems of Addis Ababa, Ethiopia's Airport Through Travel Photography
- →Snapping Selfies at PHL? Tips for Capturing Your Philly Airport Adventure